Search This Blog

Sunday 27 September 2015

Flooring

The chimney at the end of the house was removed when we had the other two chimneys rebuilt, the removal was done down to the floor. The hearth was removed, and this left a hole in the floor. Self leveling compound filled in the space left by the hearth removal, and now I've finished the flooring of the hole left in the bamboo floor.


The skirting was next, then a repaint of the entire room.
Wedgwood Jasper Trial Tray

We went to the Wedgwood museum a year or two ago and one of the exhibits caught my eye. It was a tray of jasper trials. Wedgwood made thousands of trials of different recipes of jasper in order to perfect the properties and colour of his jasper ceramic. Some of these trial pieces have been collected and arranged in a tray in one of the cabinets at the museum.There's a few photos of the tray around the web, like here:

http://www.wedgwoodmuseum.org.uk/collections/collections-online/object/tray-of-jasper-trials/from_search

Rather than get a poster, I decided to create a replica of the tray. The tray itself wouldn't be a problem, a simple wooden ray will do, stained to match the original.

Polymer clay can be mixed to match the colours fairly well, so far the sample pieces are matching quite well:


The next stage is to stamp the trial numbers on each piece, and then add the extra details of handwritten labels etc. I've bought some larger number stamps, my current set is too small at 5mm.

After that I'll make a tray and then mount the pieces in the tray.


IKEA Lamp Holder

I bought some IKEA lamps for the workshop ages ago and have been using them for quite a while some of them were clamp mounting and some were designed to sit on a flat surface and had a heavy weighted base for stability. In the blue room I have a desk with a tool board above it and I decided to mount a lamp on the tool board, on a vertical surface. To do this I took one of the lamps with the weighted base and mounted it using it's base mounting screws to the wall using a wooden block. What I didn't know was that the screws that attach the base seem to be screwed onto a very soft plastic. So, of course, they snapped off and the lamp was left dangling.
New fisher printer to the rescue. The first part printed on it (real part, that is, not the test robot that it came with) was a new bracket to hold the lamp. Fortunately it has a conical base so I created a tapered cylinder with a flange.


So I now have the lamp mounted as a work lamp over the desk. It all seems nicely solid as a mounting.


Saturday 26 September 2015

New Printer
When I looked on the RepRapPro site for a new heater and nozzle for the Mendel, I saw that they had a beta version of their new Fisher delta printer at a reasonable price. So I bought a kit.

It's much smaller than the mendel and has lots of new features.

It also has green printed parts:


The packaging of the kit is compact and neat


The printer itself has several laser cut parts, so this printer can't make all the parts for itself, as the mendel can (except for the standard off the shelf parts like motors).


Being a delta printer it prints in a completely different way. It has auto bed probing too, which is really nice.

It prints nicely too, and doesn't suffer from the bed wobble that my mendel does. The print head mounting and linkages mean that the nozzle is the only part that moves and it is very firmly located at all times.

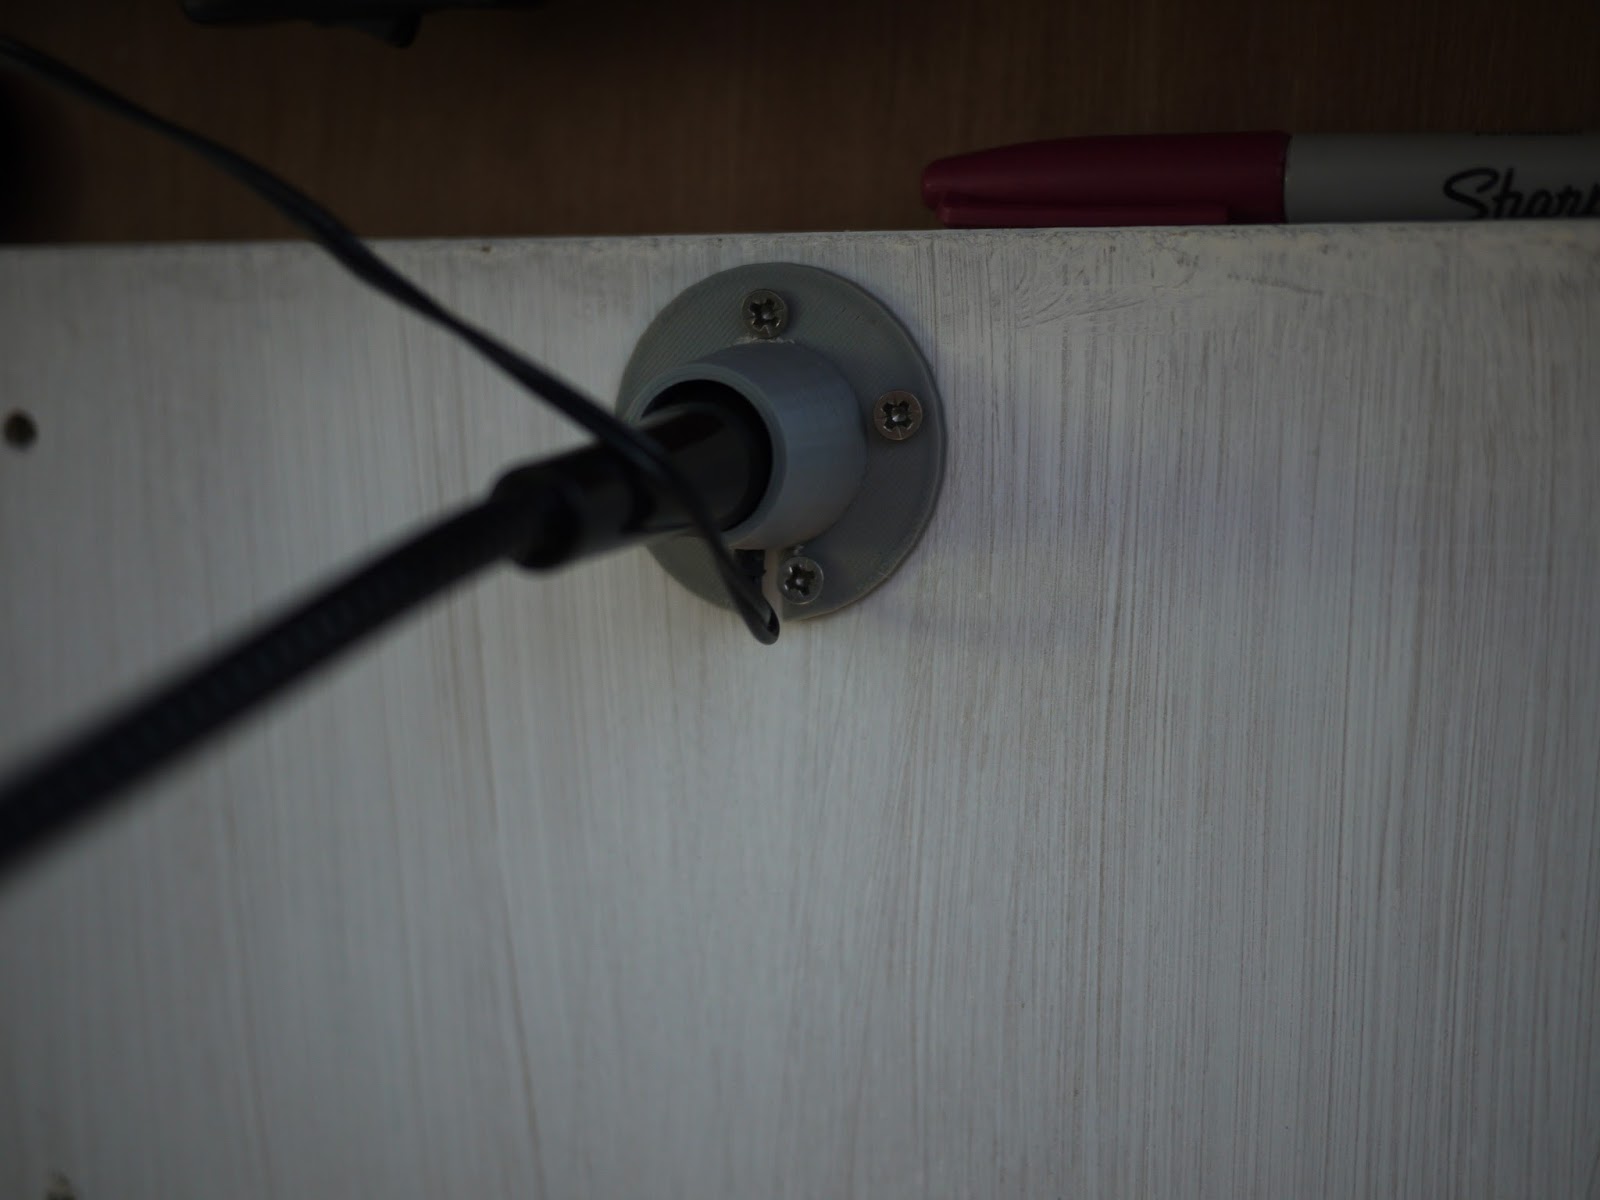
Due to the compact construction there's a tight fit for wiring inside the case, which has caused the odd problem, apart from that it's great.

Mendel Working Again

Two more cartridge heaters arrived and I fitted one. This time there were no failures. The printer is now fitted with a new 0.3mm nozzle and is printing nicely. I had to change the nozzle size from 0.7mm which I had set to try to get the blocked nozzle working. The 0.3mm is smaller than the original one (the 0.5mm was out of stock), and seems to provide better results than the 0.5mm, but is slower. I have managed for the first time to print out one of the small gears for the extruder, which I never managed with the 0.5mm. 
I've also put the nut that holds the bed on to the carriage back in, which means it doesn't wobble, and so should have even better results.


Mendel

The replacement for the cartridge heater arrived yesterday and I fitted it this morning. Unbelievably it also failed in the same way. I cut the heater open and it seems to be a problem where the heater element joins the connecting wire. The element is 3R, the join is open circuit. So maybe it isn't anything I'm doing...

Saturday 5 September 2015

More Mendel Problems

The problems continue... The new hot end parts arrived, and were fine, but i couldn't get the old heater resistor out of the heater block. So i ordered a new cartridge heater, which is the replacement for the resistor. I fitted that this morning and wired it up. heating up the hot end, I saw the temperature reach 150C or so then drop back. Measuring the cartridge heater found it to be 350k, so essentially open circuit. I'll have to get a replacement...

Looks like the new Duet electronics that are on the Fisher printer can be retro fitted to the mendel, so I'll see how that goes and maybe do a retro fit later. That'll solve the problems I'm having installing host software on older hardware.