Search This Blog

Showing posts with label 3d printed. Show all posts

Saturday, 23 May 2020

Inhaler Cover

Inhaler Cover

or

Should Have Checked Thingiverse First

If you have an inhaler you may find that you press the canister in your bag or pocket. This isn't good, so a cover or box would be a good idea. years ago I made a wooden cover for an inhaler. It had a swivel lid and was quite large as it held the instructions as well. Unfortunately it has broken so I had a go at a 3D printed version. This is a simple push on cover that prevents the mechanism from actuating.


I printed four test parts that were only 10mm high to check that the part would actually slide onto the inhaler (the first two wouldn't and the last was a slimming down of the outer profile). I then printed the full height version and it slides onto the inhaler nicely, with enough friction to stop it falling off.
All good then. 
Then I wondered if someone else had done something similar and, well, yes, they have. Oh well. I should have checked Thingiverse first...

Sunday, 26 April 2020

Infrastructure

Infrastructure

A bit of tidying up and some infrastructure. First, scrap metal used to be in a slowly collapsing cardboard box. I replaced that with two wooden boxes made out of scrap:


These were quick to make and were made out of dinged wood anyway, so anything the scrap metal does to them is irrelevant. As well as being more sturdy than the cardboard version, they fill the space in the cupboard now:


so they can hold more bits and pieces.

The second thing I made was a tray to fit on the top of my drill press. I had used magnets to hold chuck keys and drill bits, but that was getting to be a bit messy and didn't work that well. I cut some scrap bamboo flooring to the same shape as the top of the drill press belt cover.


To stop the tray moving I 3D printed curved plastic edges that screwed to the flooring.


These stop the tray moving sideways and falling off the drill press. I put a piece of non-slip plastic on top of the drill press, this stops any sliding of the tray and should deaden any rattling when the drill is running.


On top of this I put a tray that will hold all the bits an pieces. It's plywood and more scrap,


and it totally screwed together.


How I will arrange what goes in the tray I haven't worked out yet, for now, the chuck keys are in a little area of their own:


I might put a drill index in there somewhere.

Sunday, 22 March 2020

DIY "Digital" Watch

DIY "Digital" Watch

OK, it's digital in that it's made of bits. From ebay. It's actually mechanical and uses a movement, case and strap from ebay and a couple of 3D printed movement rings to hold it all in the case. The current setup is this:


I bought really cheap parts, and had a few adventures along the way but I have finally got somewhere. I started by buying a Chinese movement that might be based on the ETA 2824, or not. I also bout a case which is better than I thought it would be, and a bracelet. I also bought some hands to fit on the movement. For some reason that I can't remember I part dismantled the movement, I can't remember why. There must have been a reason as I intended to just fit the movement in the case. Anyway, in the process I managed to shear a screw (left and thread, I though they were marked with three slots?) and lose a click spring. I have subsequently managed to make a click spring and replace the sheared off screw with a new one, and the movement works again.

While I was wondering if I'd ever fix the movement I bought another one (even cheaper than the first), as a replacement for the broken one. It was about £11 on ebay and I found out that that isn't really enough money to make a decent movement. The move expensive movement was £22 and that does seem to be enough, just). The cannon pinion never worked properly and the movement kept awful time, simply because the minute and hour hands weren't moving. I eventually gave up on this movement, I may have another go at getting it to work sometime.

At the same time as buying the second movement I bought a correct sized dial, which was very nice. Unfortunately the dial doesn't fit the dial mount on the first movement so I can't use it. I may get another one if I feel like it.

The dial is held in the case with a 3D printed ring, you can see it in the photo above. The movement is also held in place with a 3D printed ring. The case has a clear back, which I didn't deliberately look for, but turned out to be useful when I was sizing and adjusting 3D printed parts:


The movement is automatic, so should and does appear to wind itself.

So, this is an alternative to the digital watches I've been trying to make, and stalled on for the time being, it tells the time, doesn't need batteries and shows the date. That covers most of what I want it to do.


Tuesday, 31 December 2019

Fix of a Fix

The tripod I use broke a couple of years after I bought it. I think i dropped the tripod, or it fell over, I can't remember. I didn't want to throw it away and I must have just built my first 3D printer, so I modelled and printed a new part for it. A while later another clamp on the tripod failed, so I modelled that (it was a different size) and fixed that problem.

Recently I had started to notice that one replaced clamp was a bit loose. Of course, I carried on using the tripod until the part failed, which is did a few days ago.

The broken part is here:


I think this was printed on my Mendel, but however I did it it looks like I was using very little infill at the time. You can see here


that there's none, really.


I printed the new part at a higher infill figure (50%) and also at a layer height of 0.1mm rather than 0.2mm. This leads to a denser part that hopefully will last a bit longer than the original.


Friday, 13 December 2019

Fixing a Panasonic H-FS014042 Lens

I use Panasonic GF1 and GF3 cameras for stills and video. I use the 20mm lens that came with a GF1 and also a selection of Pentax lenses and micro four thirds adapters. The 20mm is an auto focus lens, but all of the others are manual focus. This is fine in the workshop when shooting video or taking macro shots of bits and pieces, but when out and about it's a lot more convenient using auto focus. I've been looking for a zoom lens for the cameras for weeks. they are quite expensive, probably because they can be used on a wide range of cameras. Not wanting to spend much money on the lens, I waited until a broken one came up for sale that I thought I had a chance of fixing.


The lens I bought had probably been dropped and the mounting flanges had broken off. I removed the part that was broken:


I tried the most sensible route to a fix: try to buy spare parts. As usual, they aren't available. I was told that my best course of action was to have the lens serviced at an authorised service centre. I suspect this would have cost more than I paid for all of the GF cameras and lenses put together.
So, instead of this I decided to have a go at making the part myself. I have a 3D printer and this is a plastic part...

Here's one of the prototypes I made along the way:


Did it work? Well, yes it did. In fact the first two photos in this blog entry were taken with the previously broken lens.

This photo wasn't, for obvious reasons:


I do get a few lens attachment errors ( I think the contacts need to be moved up a bit), and I lost a screw (not technically lost I suppose, I know where it is: somewhere in the workshop), I have only aligned two of the four mounting screws and I have to drill a few holes by hand, but it does work.

Auto focus and everything.

It works as it is, but I'll probably improve it to remove the annoying lens attachment warning. Just because it isn't perfect doesn't mean it won't do the job.


Friday, 26 July 2019

Quick Case for Straws 

We got some stainless steel straws recently and in order to transport them without damage, a case was needed.

A length of plastic pipe and some 3D printing and we have a case:


The bungs in the ends are printed in flexible plastic so fit snugly.


The straws and their cleaning brush fit in the tube and are protectd from bending:


Saturday, 23 March 2019

Thicknesser 

I've got a Jet JWP-12 thicknesser


which up until now has always been 'somewhere' in the workshop. When I wanted to use it I have lugged it about (30kg of it) onto whatever surface I have available. getting fed up with this, I made a trolley for it this morning:


I'm not sure what will live underneath it, some thing that don't care if they are covered with sawdust.

It's a nice thicknesser and I have used it quite a bit, probably more than I thought I would. It's a luxury being able to use almost any wood and get it reduced down to size in flat cuboids.

One thing that irritates the rats out of me is the way the infeed and outfeed 'tables' fall down. They are designed to fold up for storage but there's no positive latch action to keep them up and so they are continually falling down. Once down they always seem to be at shin height.


So, I have 3D printed a lever arrangement that is designed to hold the tables up in a positive way.


The lever is attached to a base that screws onto the trolley and allows the lever to swing up under a nice flat area under the edge of the table. When in the down position the base just clears the side.


There's a video of the latches here:


And the Thingiverse files are here:

https://www.thingiverse.com/thing:3512480

Monday, 18 February 2019

Screwdriver Test and Stand

I've had the odd small screwdriver set, but never been very impressed with the quality. I have been taking watches apart recently and finally got totally hacked off with the rubbish screwdrivers. So, I decided to throw some money at the problem and buy some expensive screwdrivers to see if they were worth it.
I've bought a cheap set of watchmakers screwdrivers and the quality was a bit better, but still not nice to just handle and use.

So, a large-ish bill later and I was the owner of a selection of screwdrivers from a variety of manufacturers: Bergeon, AF, and some Cousins ones. they are all pretty nice, and do indeed have that 'nice to handle' quality.

Anyway, I had nothing to hold them while working, I could have bought a stand, but my wallet was tired, so I decided to make one. Some 3D modelling and printing and ta da:


Can you spot the screwdriver that cost £37?  Hint: the price includes a barrel.

The stand is made from two parts and uses a 608 bearing to join the two parts:


The screwdrivers themselves seemed to come in two basic sizes, with two diameters of the end of the handles. So, the holes in the top part also come in two different sizes to match:


The screwdrivers are held by the handles, the bits sit in a cone shaped recess in the top.

One thing it needs is a heavier base. I think I may have a go at machining a metal base so that the insertion and removal of drivers is a true one-handled operation.

Friday, 10 June 2016

Second DRO Gauge

The second gauge has been fitted to the lathe. This one was a cut down 'hardened stainless' gauge I got off ebay:


I'm not sure what was hardened or stainless, this machined like butter on the mill. I'm not complaining, it made my job easier.

The mounts are 3d printed, the gauge display unit fits neatly into the metalwork, I added a copper shim to remove the last 0.1mm of movement, now there's no measurable movement.


This metal gauge works better than the plastic 0.1mm resolution one I put on the compound. Even though you can get 0.01mm resolution on the data output, it doesn't stay very stable.  I think I may use one on the compound as well, if I can buy one. I'm going to experiment with other calipers, I need another 4 for the mill and the gauge on the lathe ways.


Thursday, 9 June 2016

DRO Displays

The displays for the axes of the DRO are going to be LED digits. I have some modules that use the MAX7219 chip and have 8 seven segment digits plus decimal points. One Arduino UNO and some code and we have a trial display:


So now I have a display and a gauge attached to the lathe. I thought it would be a good  idea to check the DRO gauge and see if it would be useful. It's not worth going through the hassle of building all the gauge channels if it doesn't work very well.

The first attempt was OK, but the gauge didn't slide very freely. Some adjustment of the gauge mounts might be a good idea. After some gentle filing the gauge freed up and all worked quite well.

I set the lathe dials to zero and the gauge to zero as well to check the calibration between the two measurement systems.


After moving a distance from the zero, I noticed that the gauge didn't match the scale. I finally found that when the gauge read a round number of millimetres:


The scale on the handwheel isn't at zero. I was about to give up on the DRO until I noticed that the ball on the handwheel was in the zero position.


So the dial had slipped when moving the handwheel. It looks like the DRO was more reliable than the dials in this case. Looks like it is worth continuing.


Tuesday, 22 December 2015

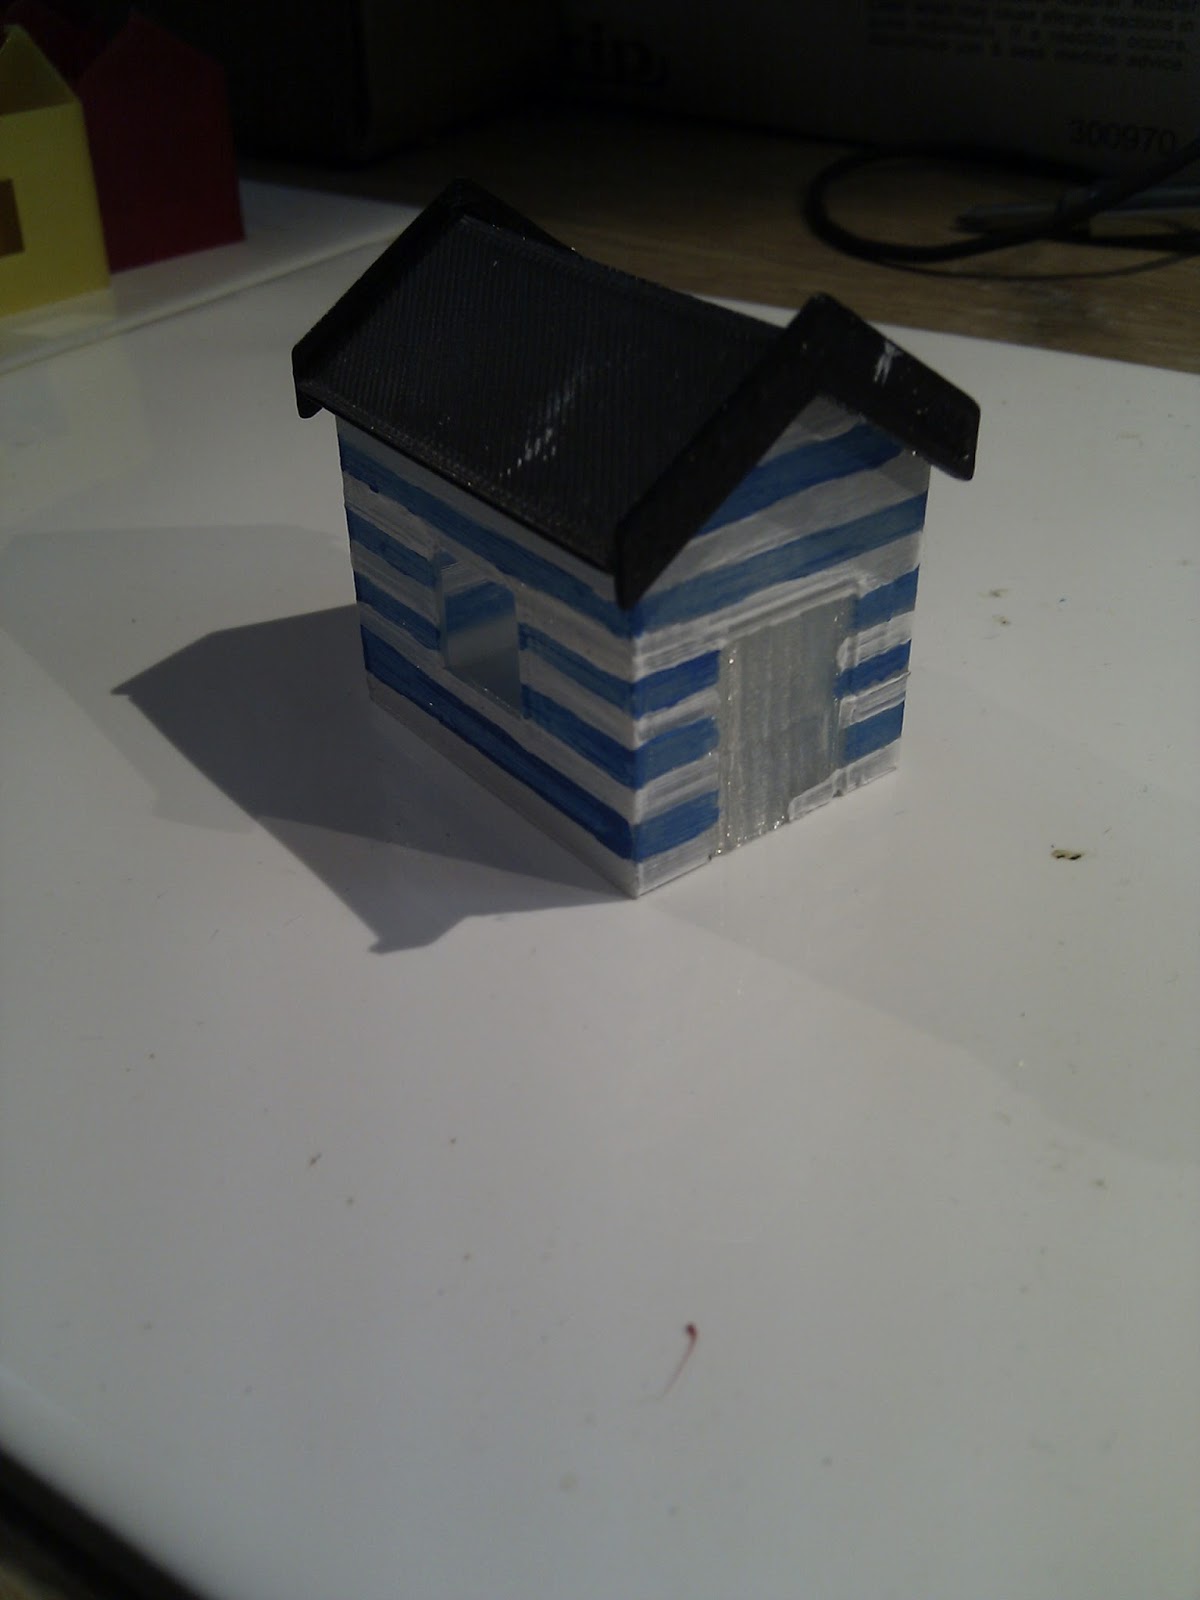
Beach Huts

These parts

plus some more colourful parts


Once welded together with a soldering iron and painted


create a set of beach huts. Of course you have to make sure that the colour combinations are acceptable with some sorting:


More to follow when I have the full set of parts...