Search This Blog

Showing posts with label woodworking. Show all posts

Friday, 12 April 2019

Coffee "Machine"

The old coffee machine that we use is probably going to fail soon, it's second hand and pretty old. I saw a simple Japanese design a while back and decided to have a go at something similar. My version uses cheap Chinese components sourced from Ebay and some recycled  bits and bobs.


There's a filter in a funnel that direct coffee into a jug below. The funnel, filter and jug are ebay items. The stand is made from part of an old chair frame and some wood from a tree we had taken down in the garden.

It makes pretty good coffee, but has the downside that you have to pour the water through the coffee over a few minutes, it's not very automatic. It does have the advantage that you can quickly make a single cup of coffee, probably quicker than the automatic machine can manage.

The filter is metal, I had to cut a handle off it so it had a circular outline and would fit in the funnel.


Thursday, 21 February 2019

Evolution

Of designs. About a year and a half ago I made some 'distance increasers', or a pair of tongs. The blog entry is here:

First generation

and a picture of the tongs are here:


 In the best tradition of evolution, there was some selection pressure from the user of these tongs. The first problem was the size. My hands are bigger than the person using these and, while they fit me fine, they were a bit too chunky. Secondly, my handmade hinge, while an outstanding item in it's design and execution, did unfortunately have the side effect of being painful to have around.
The same goes for the stop on the side, which prevents the spring from popping out if the tong are opened too far.

So, the second generation:


 Altogether less chunky and softer in features. The hinge is now part of the wooden arms, and the stop is a leather strap between the two arms:


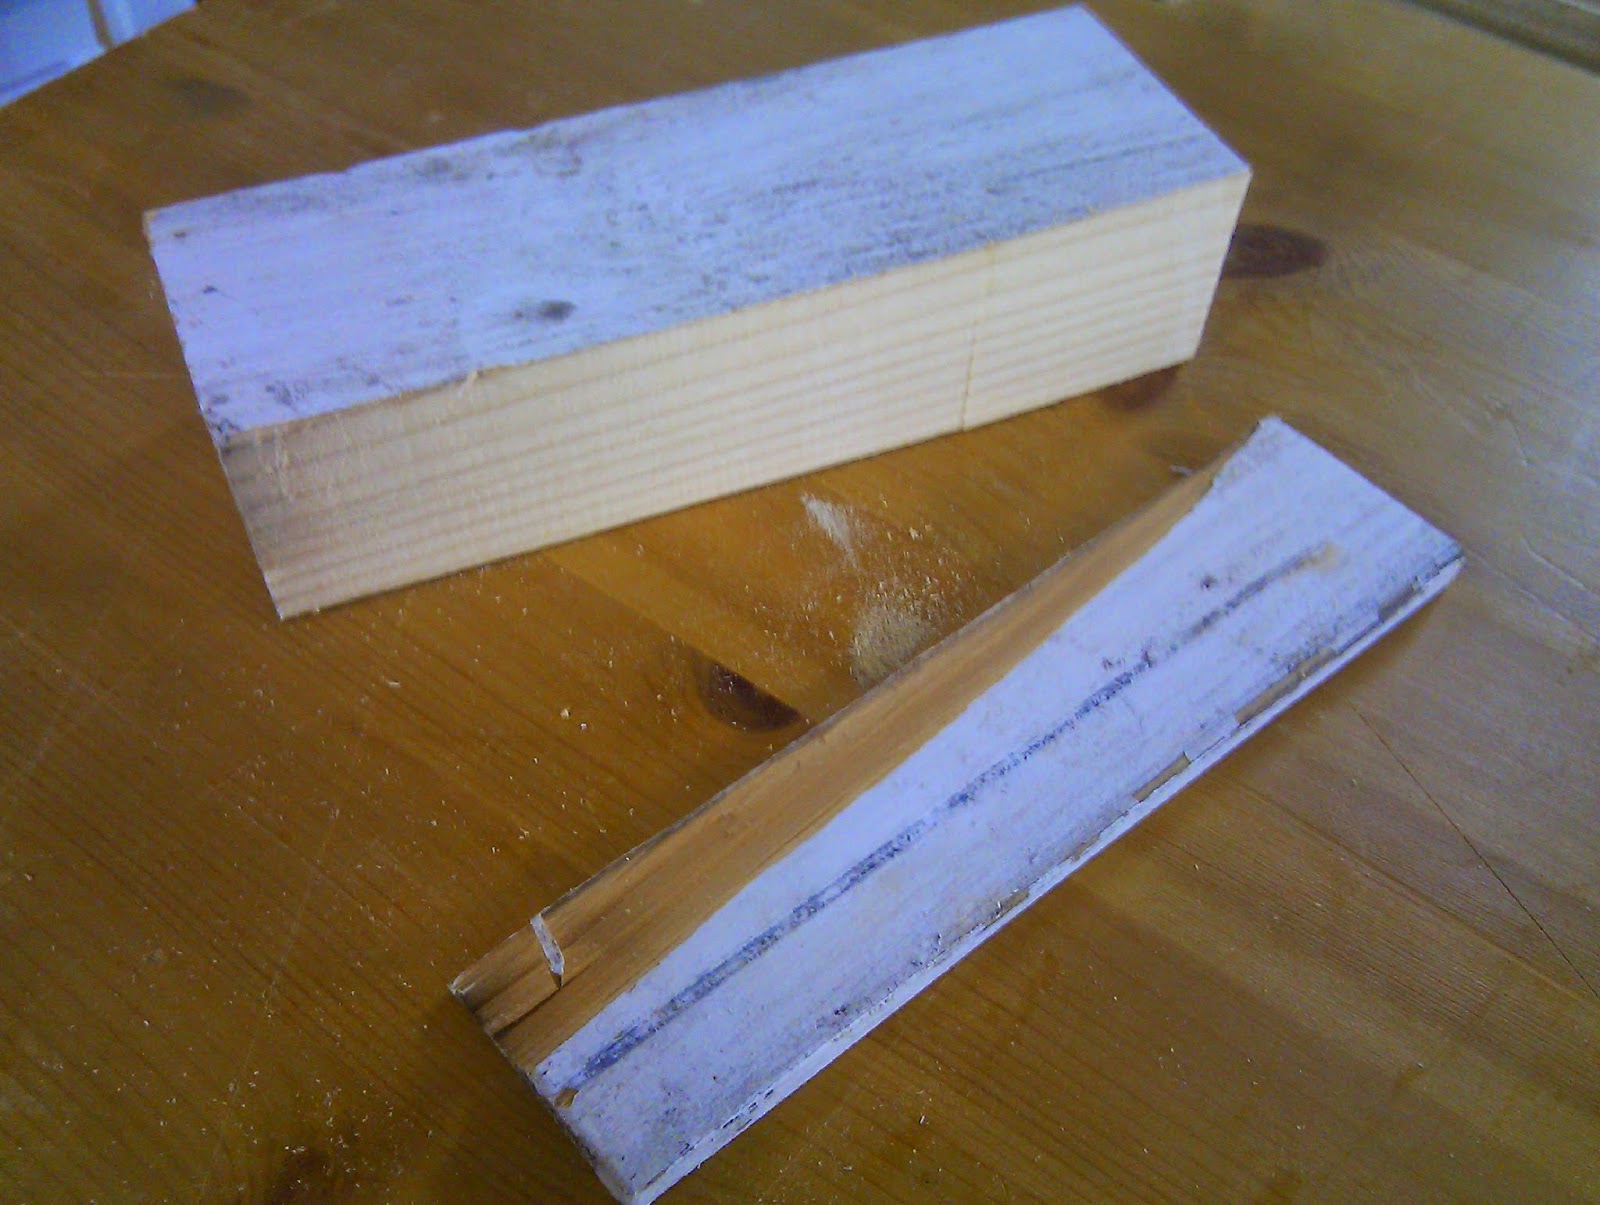
The hinge is simpler and should be less sharp. This was pretty easy to do on the bandsaw:


We'll have to see how the second generation goes...


Thursday, 28 June 2018

Agh! I Got Fed Up With It

I have a woodworking vice on my bench (made from old garage roof bits) and it has had a succession of jaw inserts. Each of them has broken, the last one was a piece of scaffolding board that I didn't think would break, but it did:


So I finally got fed up with this and made a jaw from some bamboo flooring and some plywood:

Of course, the other jaw now looks bad, so I glued up another jaw to match. I had to use a lot of clamps on this, because I could.


I now (after sanding and filling and planing) have a pair of nice strong jaws, let's see how long they last...

Of course, I got fed up with the other vice next to this one and made some new wooden jaws for that too:


Hmm, that's better.

Monday, 9 April 2018

Sometimes Things Don't Go Right

The chairs I've been making recently have four curved bars across the back. I've been cutting them on the Maslow. They look like this when they are finished:


I cut them with a router set to about 60mm depth and a toolpath that runs up and down the concave side taking off 2mm at a time. It then runs back and forth across the conves side taking off 2mm at a time. I hold the blanks to the Maslow base using a couple of 70mm screws. This is fine, except that on the latest part I was cutting the screws came loose, I think because the vibration of the routing and pressure of the tool was wearing the holes in the base. It's made of chipboard and the screws just got loose. Once the part started moving, the router made a hell of a noise and did this to the workpiece


The bit has ripped the wood apart.
I'm now going to try to use some 6mm studding through the workpiece and see if that lasts longer than the screw method. I only have seven more to do I think, so hopefully it will stand up for that long. I need a new blank now too...


Thursday, 8 September 2016

Experimental Flocking Box 1

Up until now I have been using self adhesive crushed velvet paper for soft linings on pen boxes. This has been OK, but I spotted someone using some flocking on a YouTube video. It looked interesting so I decided to do a test.

I made up a 'box' which had two flocked surfaces on the inside.


The surfaces are glued then flock fibres are 'puffed' onto it with a puffer bottle. It works well, but does give a different, harder surface that the crushed velvet.


The real advantage is when you come to coat one of the pen slots that I mill into the boxes to hold pens. This is really fiddly to cover with paper. With the flocking it is easier, but you still have to be careful to apply glue in all directions and then ensure the flocking is uniformly applied to avoid gaps. As the glue is the same colour as the flocking it's not a total disaster if the flocking has a small gap here and there.

This is a trial pen slot that has been flocked to see how well it works. Apart from a small gap it worked well. There's maybe not as much cushioning to protect a pen as the self adhesive paper, but it's definitely better than just a wooden slot.


Wednesday, 7 September 2016

First Thing Made From New Scaffolding Boards

I need to tidy up my dust extraction and the first thing to do is to put the extractor somewhere closer to the ceiling where I intend to run extraction pipes to the machines that need it. So, the first use of the new scaffolding boards. We have a shelf:


I now need to get some new filters for the extractor as I'm nearly out of them.

Scaffolding Boards

The first chair that was made of scaffolding boards didn't work well at all, so I made another one. That looks to be much more successful, so I needed to get some more scaffolding boards in anticipation of making more chairs. I tried to get more at the salvage place I got the first boards but they only deliver a minimum quantity of 200, which is too many in one go for me.

So I had a look around and found a place in Havant called Total Scaffolding. They were great to deal with and had a minimum quantity of 50 boards. That's still quite a lot, but manageable. So, the day after visiting them they arrived.


That's a set of chairs and several other things being craned into the garden. I then stored them in the garage.

Sunday, 8 March 2015

Pen Box

After making some pens, I needed a box for one of them. Using some wood from the old garage roof, I used the Japanese saws to chop it into rough shape


I then chopped it into two halves with the saws:


After a slot was router out on the woodrat, I connected the two pieces together with some small dollhouse hinges.


Then some stain to give it a black look...


and then some crushed velvet on the sides that will contact the pen and the base.


With a pen it looks like this


I now need to add a catch to the front and it's done.