Search This Blog

Wednesday, 18 March 2015

Water Tank Measurement

We've got a rainwater tank that collects water we use in the house for flushing toilets. The equipment came with a water level measurement gauge. It's a pipe that runs into the tank from top to bottom. Air is pressurised by a manual pump, the higher the water level, the higher the pressure needed to get air to push it's way out of the bottom of the tube. The perssure in the pipe is then measured on a dial. Being manual and needing a lot of pumping means that it's a bit inconvenient to get lots of measurements. So, I have been gradually putting together a list of parts that could be used to make a computerised level measuring system. The computerised bit is pretty easy, Arduino. The pressure measurement and pressure generator is a bit harder. Generating the pressure requires a pump that can create about 2 metres of water pressure. A fish tank airstome pump was the first thought, but it turns out that they can handle only about a metre or so. Pressure sensors are also tricky as there's quite a few, but they are tricky to interface to.
Anyway, it turns out that there is a piece of equipment that contains all of the components that I need.


You can see the pump at the bottom left and part of the circuit board that holds a pressure sensor.


The sensor is the circular device on the PCB. It looks like a piezo sensor that has been wired up as a pressure controlled oscillator. The metal is a shield.
This equipment is a personal blood pressure meter. From the handbook it looks like it can manage 2700 mmH2O and has a measurement sensor capable of measuring that pressure. It also has the plumbing between the components.

I think I can attach this to the water tank pipe such that I can use either the manual or automatic measurement. I need to reverse engineer the pressure sensor and build a pump driver circuit. Then attach to an Arduino and knock up some code.


Drill Bit Trays

Next to the pillar drill I had put my drill bit holder. That's a fancy name for a piece of worktop with holes drilled in it. I put various drill bits, taps, router cutters and screwdiggers in the holes to keep them organised. Well, sort of organised. Anyway, it worked well when it was put on a shelf, but next to the drill press wasn't a good location as I kept cutting my hand on the sharp bits when I altered the drill press shelf height.

Fortunately I had a solution looking for a problem: A metal case I bought in Plymouth. One of a pair. I decided to put trays in the case, sized so that things in the trays wouldn't fall out when the case was picked up.


The trays are made out of 3mm plywood, stapled and glued together. There's one in the bottom of the case, and one on top. The top one has a small tray that fits inside and has smaller spaces fot tiny drill bits.


The stapling isn't too pretty, but it allows a lot of tray to be made in a reasonable time.
The trays are doing quite well at the moment, we'll see how it goes...

Thursday, 12 March 2015

Bernie's House

Bernie
We found Bernie a few weeks ago while out walking. He's not very talkative, but does feel the cold a bit, so he asked me to build him a new house. He's comfortable with heights, so said he would quite like to live on the wall.

I cut some lengths of wood


and some glass for a window:

I routed a groove in the wood pieces for the window to slot into, then glued and stained them in a frame arrangement.


Once a neat floor is added, Bernie has a new house.


Sunday, 8 March 2015

Pen Box

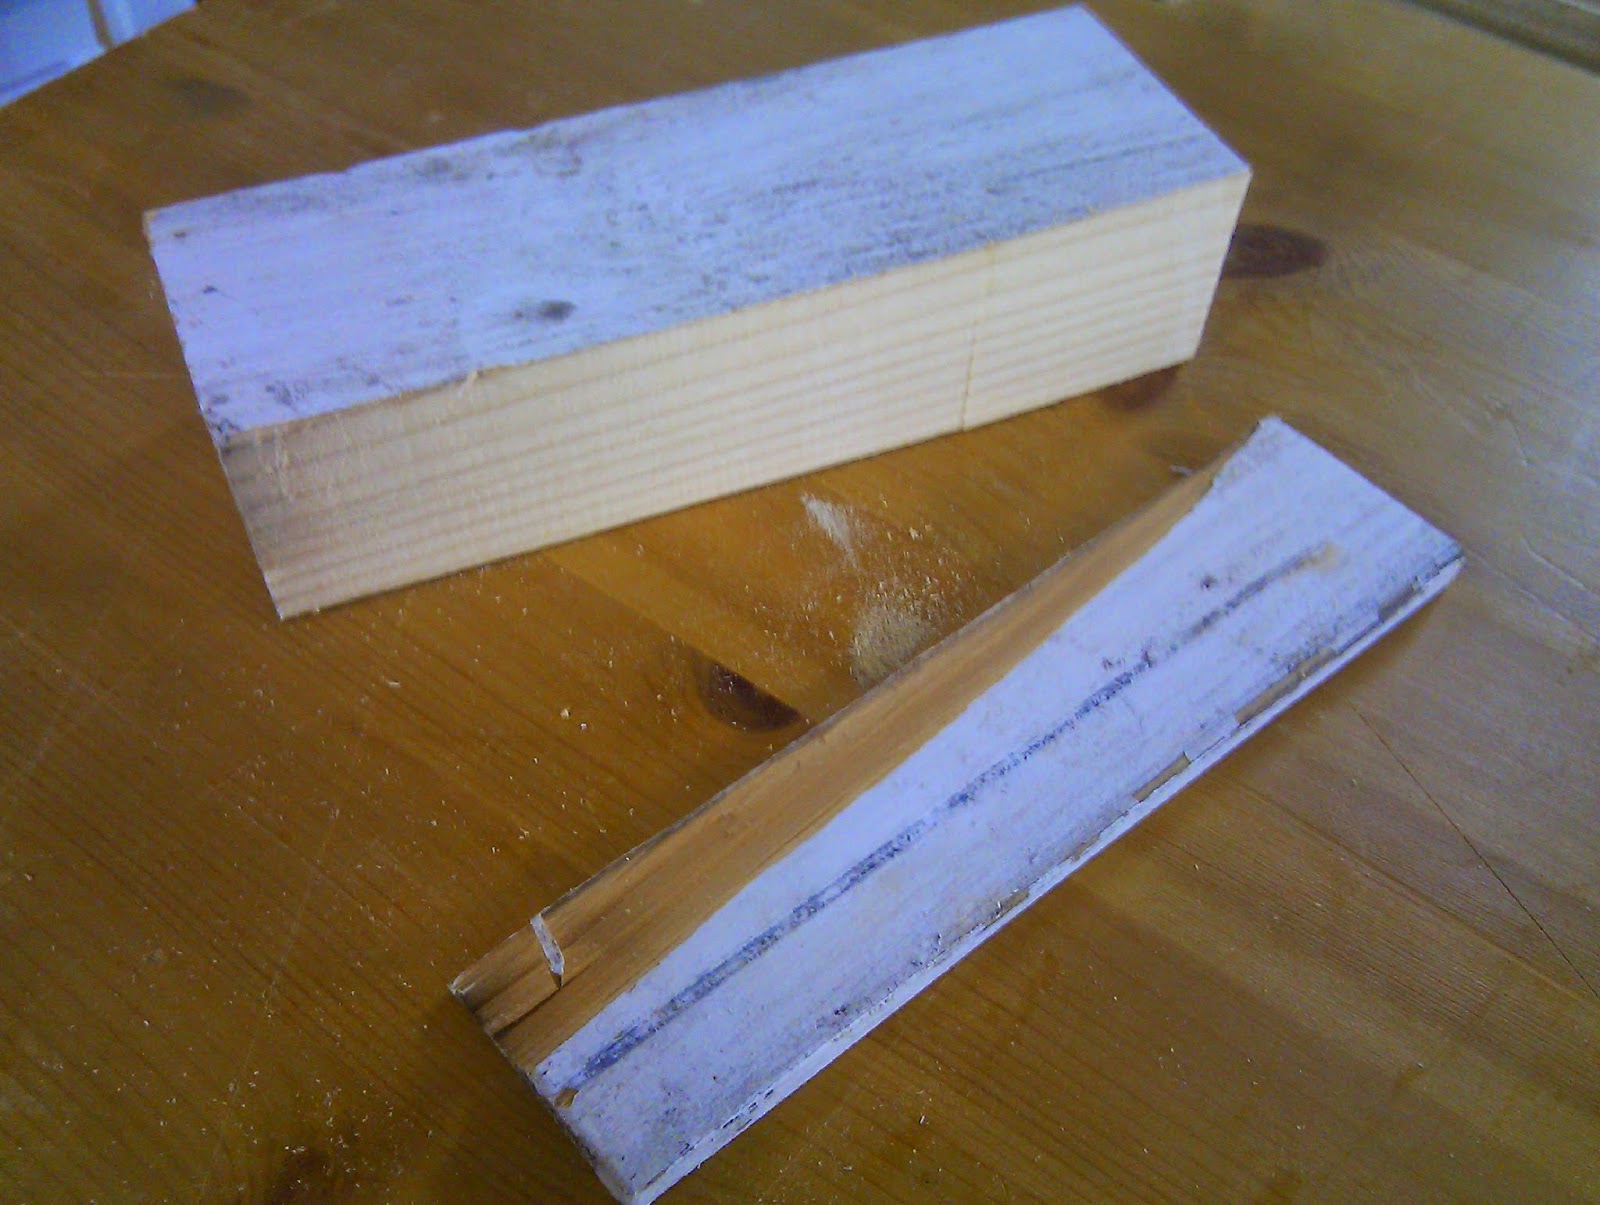
After making some pens, I needed a box for one of them. Using some wood from the old garage roof, I used the Japanese saws to chop it into rough shape


I then chopped it into two halves with the saws:


After a slot was router out on the woodrat, I connected the two pieces together with some small dollhouse hinges.


Then some stain to give it a black look...


and then some crushed velvet on the sides that will contact the pen and the base.


With a pen it looks like this


I now need to add a catch to the front and it's done.